
Painting on CTA Building
Here are some tips to use when photographing the famous elevated rail system in Chicago, Illinois. I hope these guidelines impact your knowledge , but I preface this with the fact that I am not an expert on this transit system or even rail operation in Chicago, so pair this with your own research.
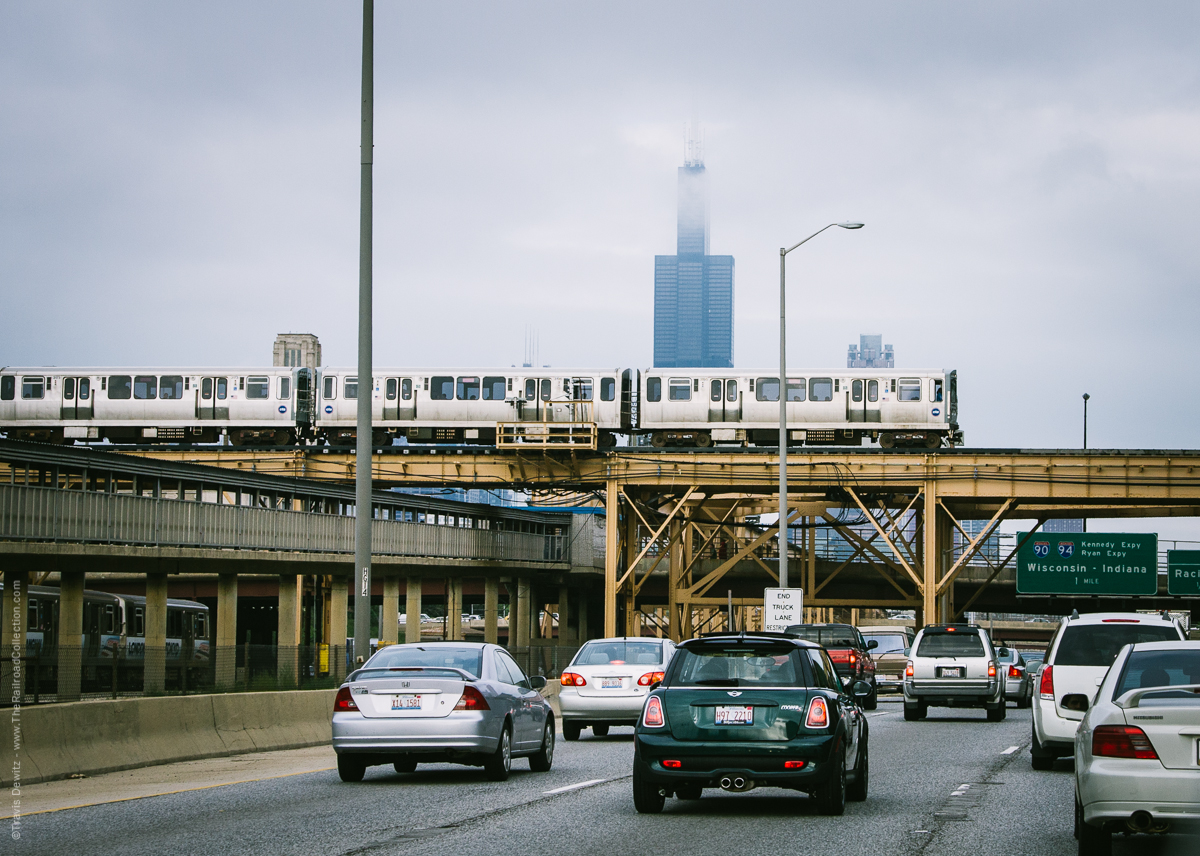
A Pink Line CTA ‘L’ train passes over the Blue Line Illinois Medical District Station as well as Interstate 290 as traffic flows towards Chicago. Willis Tower marks downtown.
Brief History
The elevated rail network in Chicago is called many things from ‘L’, subway, rapid transit, and el to name a few. Chicago Transit Authority calls it the ‘L’ or rapid transit system. It has actually been the ‘L’ since the beginning with el being a more generic term which is short for elevated rail. The oldest sections of the ‘L’ started operations in 1892, making it the second-oldest rapid transit system in the United States. Not all of the system is elevated today with even some portions of the Red Line underground.
Top 10 Tips to Photographing the ‘L’
#1 Safety
Those of you that live in large metropolitan areas know that there are places that are not as safe as others. If you live in Chicago, you have an understanding of when and where you should not be in a certain place. There will always be a risk taken when you are in a city that millions of people live and work in. For those not from the area that come to visit Chicago’s rail transit system, I would recommend staying in groups, try not to stand out, keep personal belongings close to yourself, ride in the front car, and enjoy the ‘L’ during daylight hours. You should also familiarize yourself with the different lines that are all color coded so that you always know where you are and where you are going.
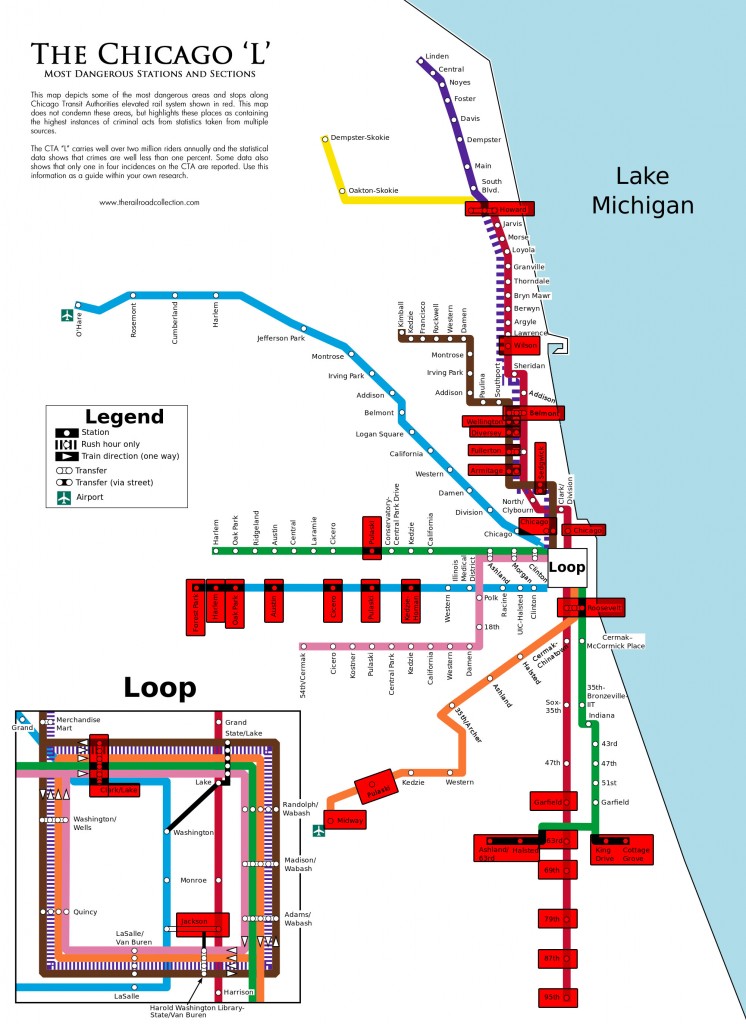
I have put together a map of the most dangerous Chicago Transit Authority’s rail stations and sections. This map depicts these areas and stops along Chicago Transit Authorities elevated rail system in red. This map does not condemn these areas, but highlights these places as containing the highest instances of criminal acts from statistics taken from multiple sources. The CTA “L” carries well over two hundred million riders annually and the statistical data shows that crimes are well under one percent. Some data shows that only one in four incidences on the CTA are reported. Use this information as a guide within your own research.
#2 Access
Photography is permitted for personal use on the ‘L’. You should be respectful, stay out of the way, and do not loiter. Take your photos and move on to the next location. I have been approached numerous times by CTA personal and told I could not take pictures. My advice to you is to let them know who you are and what you are doing. Let them know your intent- that the photos are for personal use. If they continue to question you, it is your option to stay and continue a polite conversation or to move on to another location. I personally normally just move on to avoid any conflict and to maximize my time photographing from another platform.
“The general public is permitted to use hand-held cameras to take photographs, capture digital images, and videotape within public areas of CTA stations and transit vehicles for personal use.” – CTA Website
I also recommend that you should avoid using tripods and/or flashes on CTA property including platforms or in the rail cars.
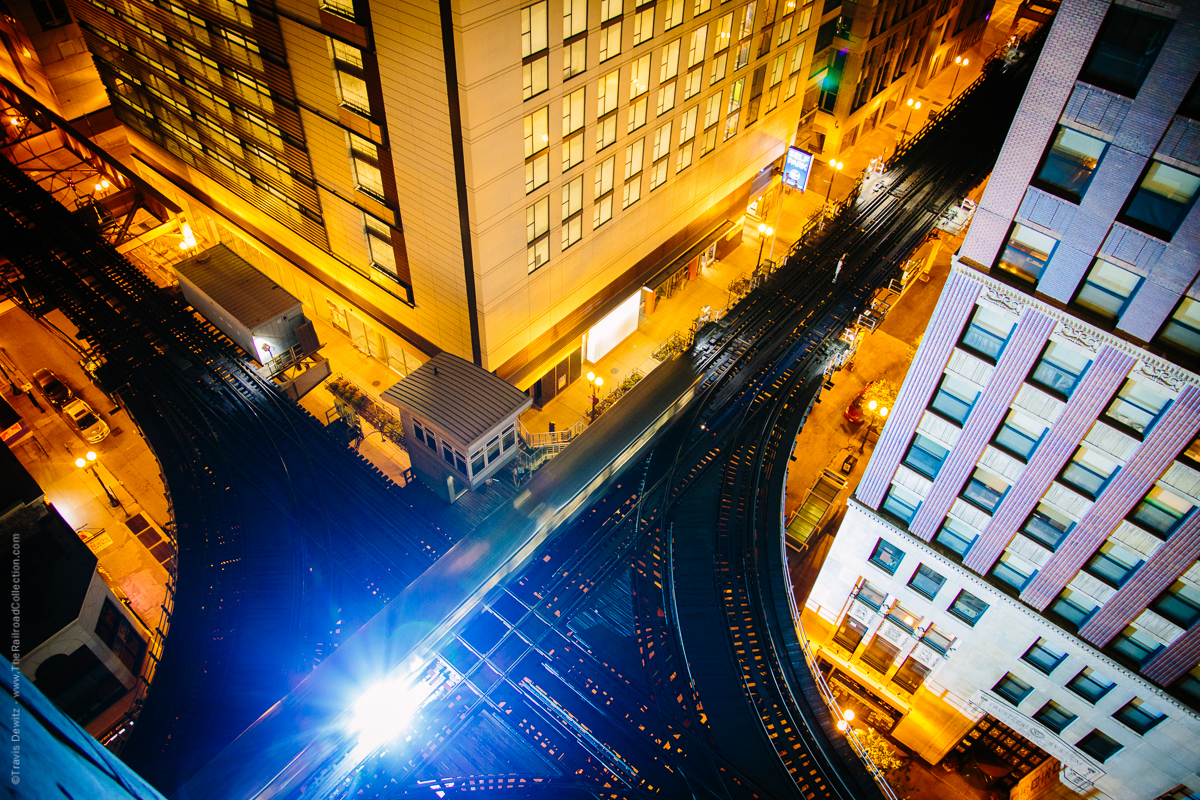
The steel wheels arc as they cross past the third rail at one of the busiest rail junctions in the world guarded by Tower 18.
#3 Angles
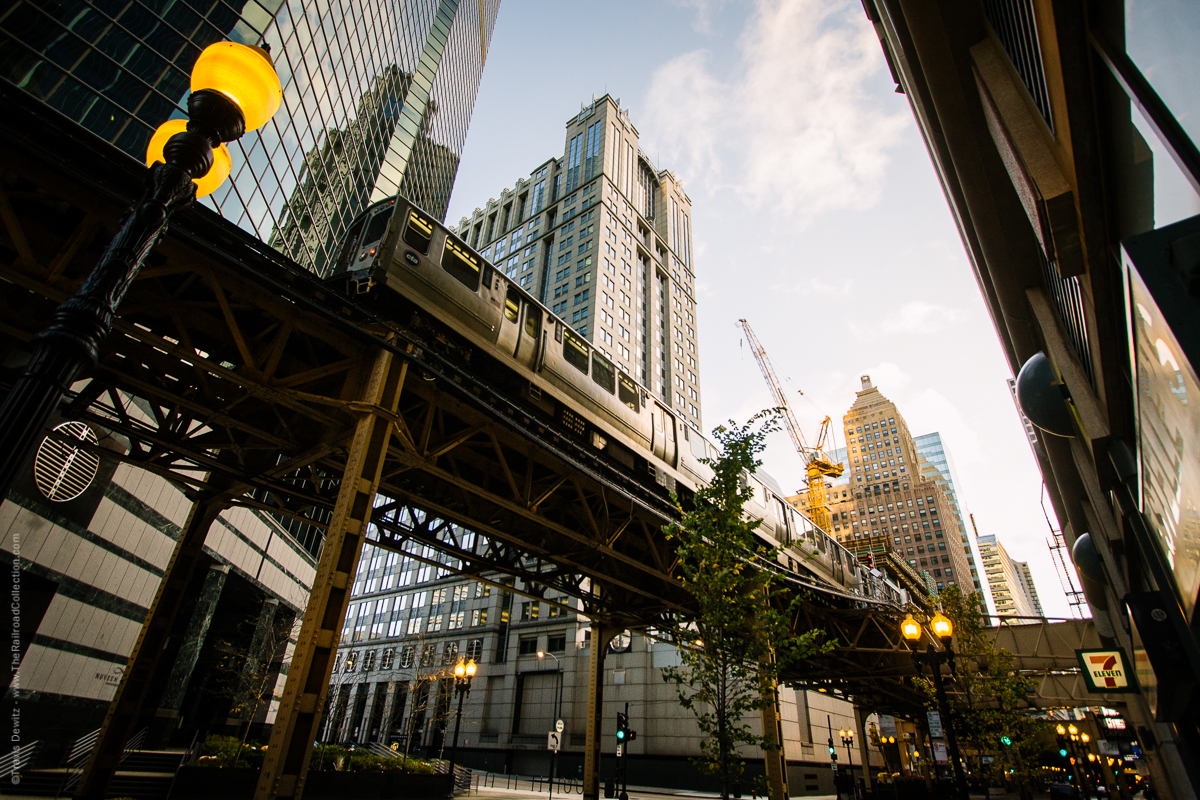
With an abundance of trains to shoot, this will give you a real opportunity to be creative. Try to use different angles and elevations around the line. One angle that is often not taken advantage of, but is the easiest to achieve, is getting down low. We are all use to seeing images taken at eye level so going low will be a great way to show a unique view of the same subject. Lying down to get the shot has been done a million times, but if you’re at a busy platform, this tactic may not be ideal. Set your camera down, kneel, or find a place that isn’t busy.
Getting some elevation is a great way to create interest in your photos. Search for buildings or parking ramps that you can shoot down onto the ‘L’ from. There are many places, especially in the loop, that you can gain a height advantage from. Parking ramps are usually a favorite since there is no glass to photograph through. I always try to find a hotel next to the line if I am staying in Chicago.
#4 People
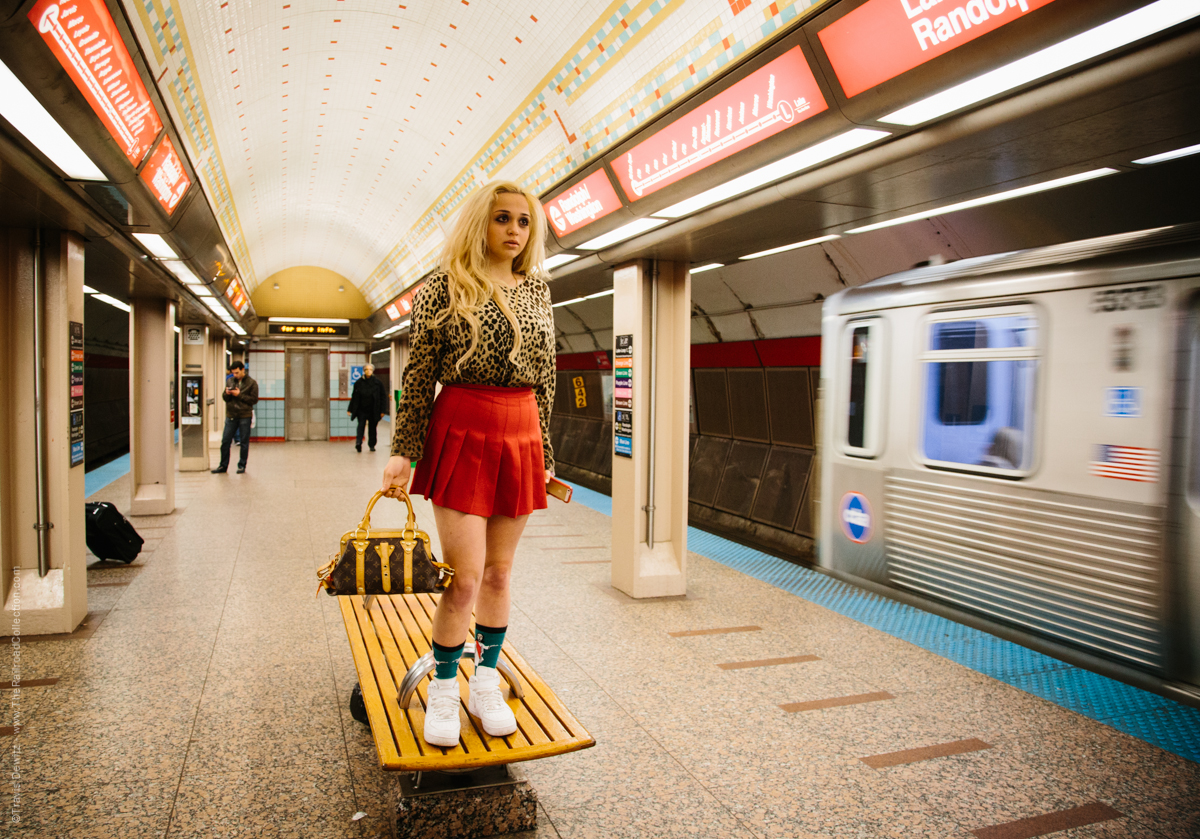
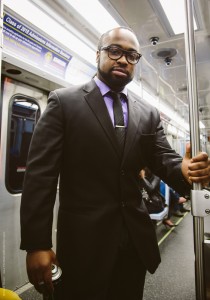 The ‘L’ is a people mover so why not show the people? Including people you don’t know into your photos can be uncomfortable, yet the human interest can greatly add interest to your images. I make a conscious effort to include people as part of the scene I am photographing while staying cautious at the same time. Not everyone wants to be in your images so you should try to read others body language and use restraint when you feel they are becoming uncomfortable. Another way I include people in my images is to approach them first and ask if they would like to be a part of my photo. Those that don’t mind usually end up becoming the focus, with the ‘L’ becoming secondary. This approach isn’t for everybody, but no matter how you go about trying to include the human interest, be respectful.
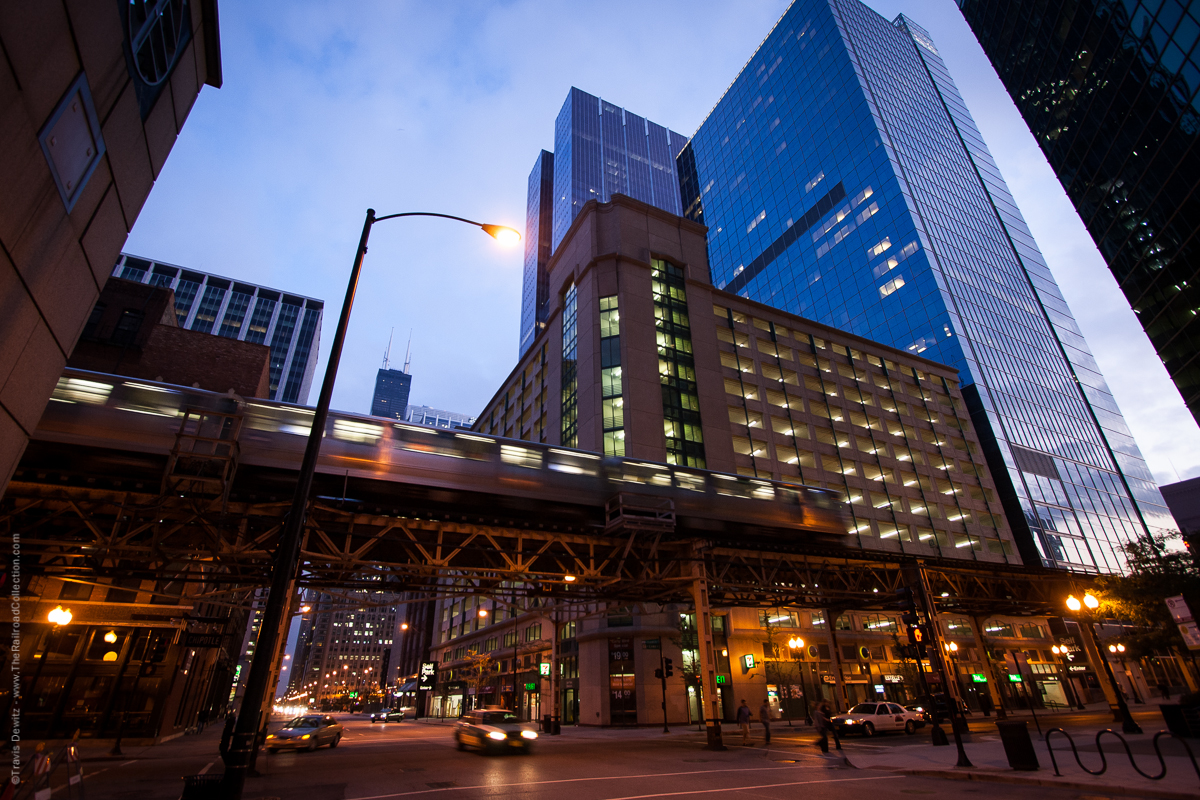
‘L’ train are a non stop presence in the loop, the business district of downtown Chicago.
#5 The City
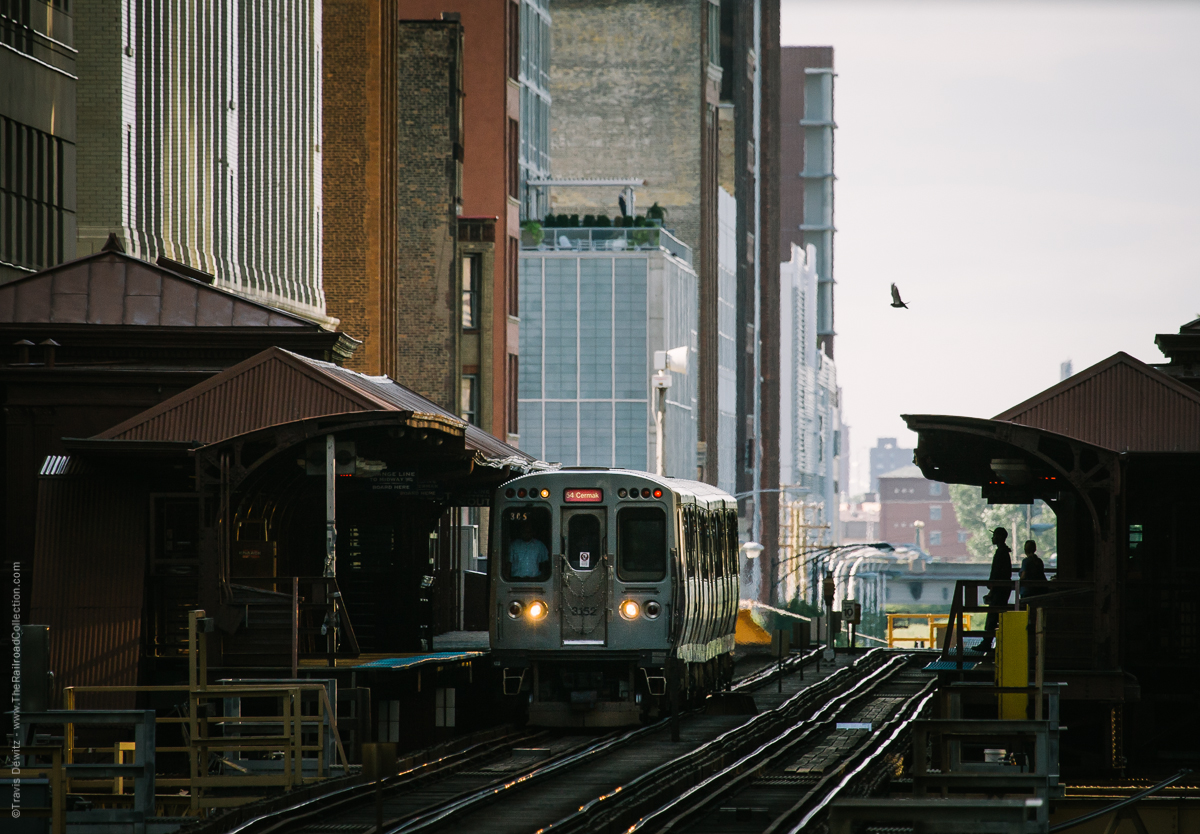
This is Chicago. You must find ways to incorporate the city in your images. Include the towering skyscrapers the transit line runs through. 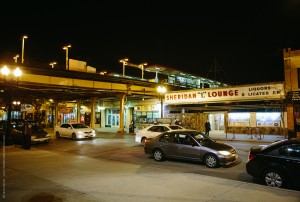 You can make it look like the ‘L’ is running through a glass side canyon in many places around the loop. You should use the buildings to show the scale between these enamoring skyscrapers and the passenger cars that move the people that work in them. An upward angle will give you a cool perspective as well; there are so many opportunities for you to work with. I appreciate walking the streets along the elevated rail while capturing street scenes. At street level, I find myself including the rail line as a secondary subject. The green lattice steel structure of the ‘L’ is so iconic, that including it in your photos is a great way to show they were taken in Chicago.
#6 Infrastructure
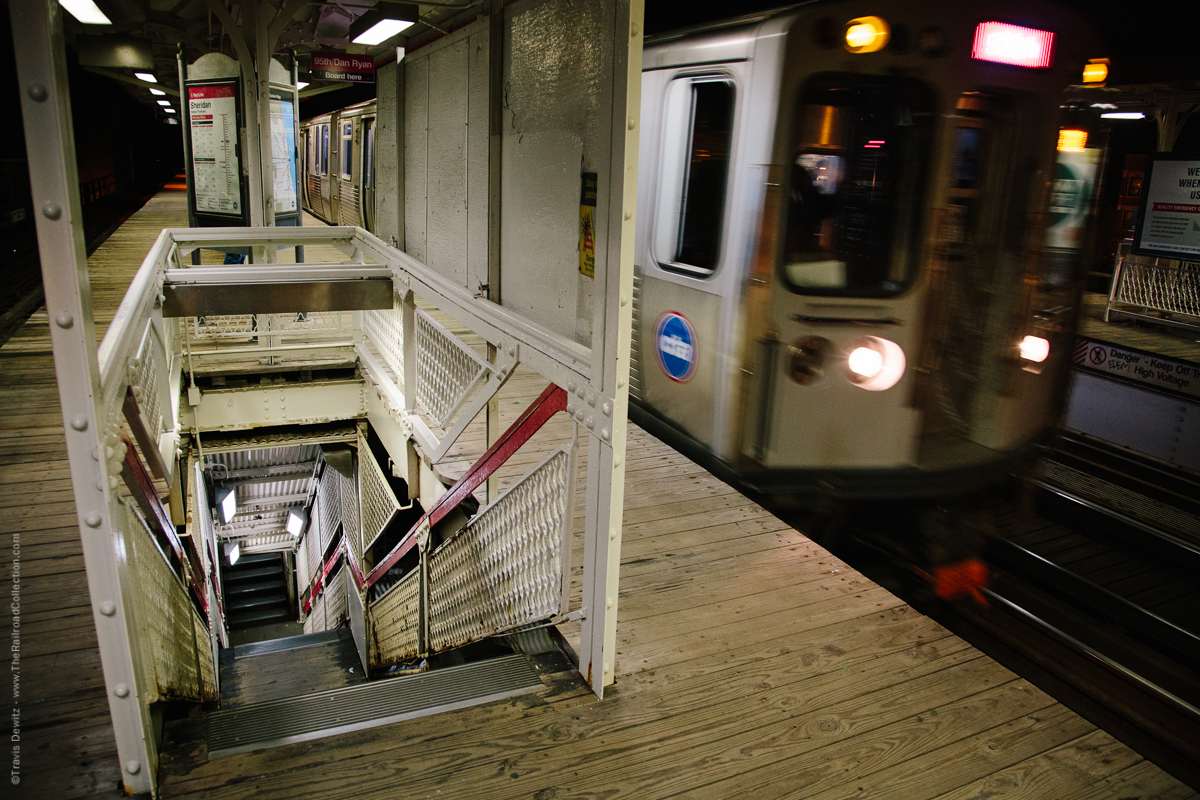
Everything you see will be history at some point. 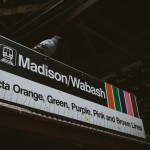 The ‘L’ is old and much of the system is being replaced or upgraded constantly. Photograph the infrastructure details while you can. Search out interesting compositions and fine details. I find myself using parts of the platform structure in my composition as the train comes into view. I look for natural frames at some of the stations to frame the scene or subject.
#7 Light
We all know photography is all about light. One big difference with light when you are in downtown Chicago is that all of the glass buildings are giant reflectors. You can capture some very interesting lighting as the sunlight bounces around inside the city. Sometimes your photos even have an unnatural appearance to them created from these giant light sources. It can create a very soft light that wraps the trains in the same way a beauty dish is designed to wrap light around a models face. Depending on the color of the glass, you may have unique color casts that can be great to work with when you find them.
#8 Night
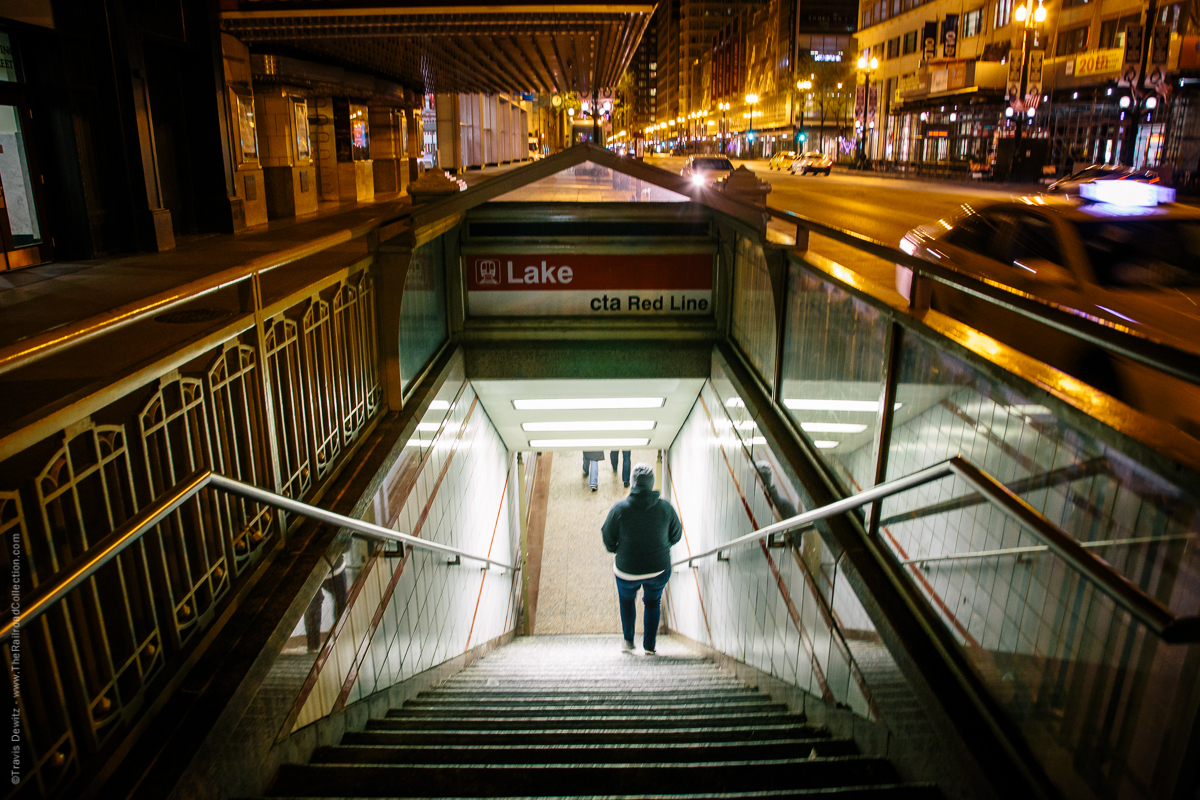
I know I referenced being out on the ‘L’ at night above, as night time is by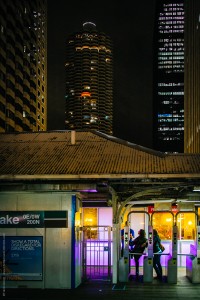 far my favorite opportunity to railfan the ‘L’. I love the mood that the cover of darkness brings with it along with the characters that flood the system in the late hours. Then there is the amazing array of city lights that surround the tracks; from colorful neon’s of businesses to the warm glows from apartment windows. The vibrant electrifying blue sparks that snap from the third rail as the trains pass by just ads to the love affiliation I have for the ‘L’. The biggest drawback is how to create clear images in the low light. Tripods are out of the question if you are on the trains or platforms. A monopod can work great in place of a tripod. Newer DSLR cameras are getting better at recording images in low light. Learning how to hold your camera steady is a great technique to use all the time and is probably some of the best advice I can give novice photographers. You pair that skill with a newer DSLR and creating clear images handheld can be done. Other techniques I use at night are to not shoot over 100mm. The more zoom you use, the more amplified the vibrations will be at lower shutter speeds. If you have a lens with stabilization, try to use that more often in low light. I will switch to a prime lens to take advantage of the lower F stop they have. Going from a F4 lens to a F2.8 allows twice as much light to pass which is an amazing advantage. Remember that many of the line stop operations at night and only the Red Line and Blue Line are operated 24 hours a day.
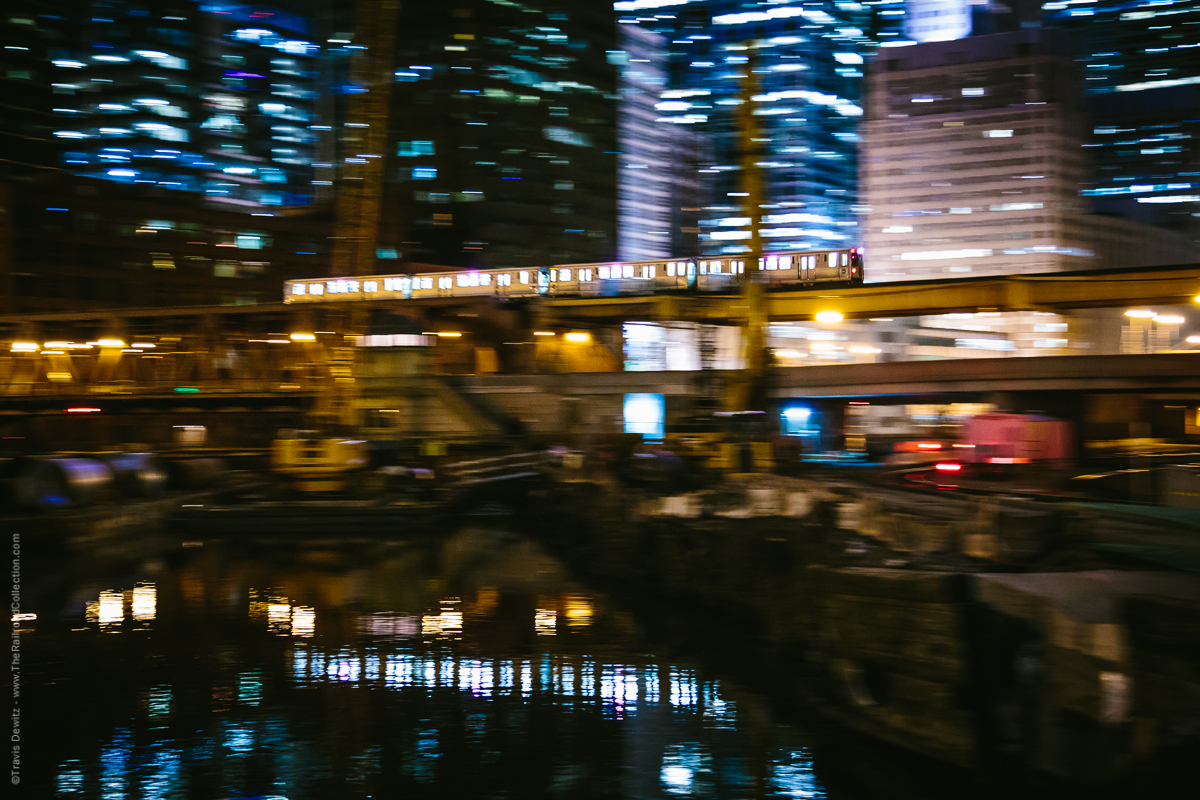
The city lights offer such a great back drop to this CTA ‘L’ train as it crosses over the Chicago River. This is now the site of a high rise apartment complex.
#9 Motion
I try to add motion to create interest and increase variety to my images. As I mentioned above, there is a never ending supply of trains here so why not try dragging the shutter to cause motion blur of the trains. I recommend starting at 1/10 of a second and adjusting to the look and lighting you are in. You can swing your camera with the train as it goes by to create a small sharp area on the front of the train. This technique is called panning and I would recommend starting with a camera setting closer to 1/30th of a second. Both of these techniques to add motion work great in low light conditions.
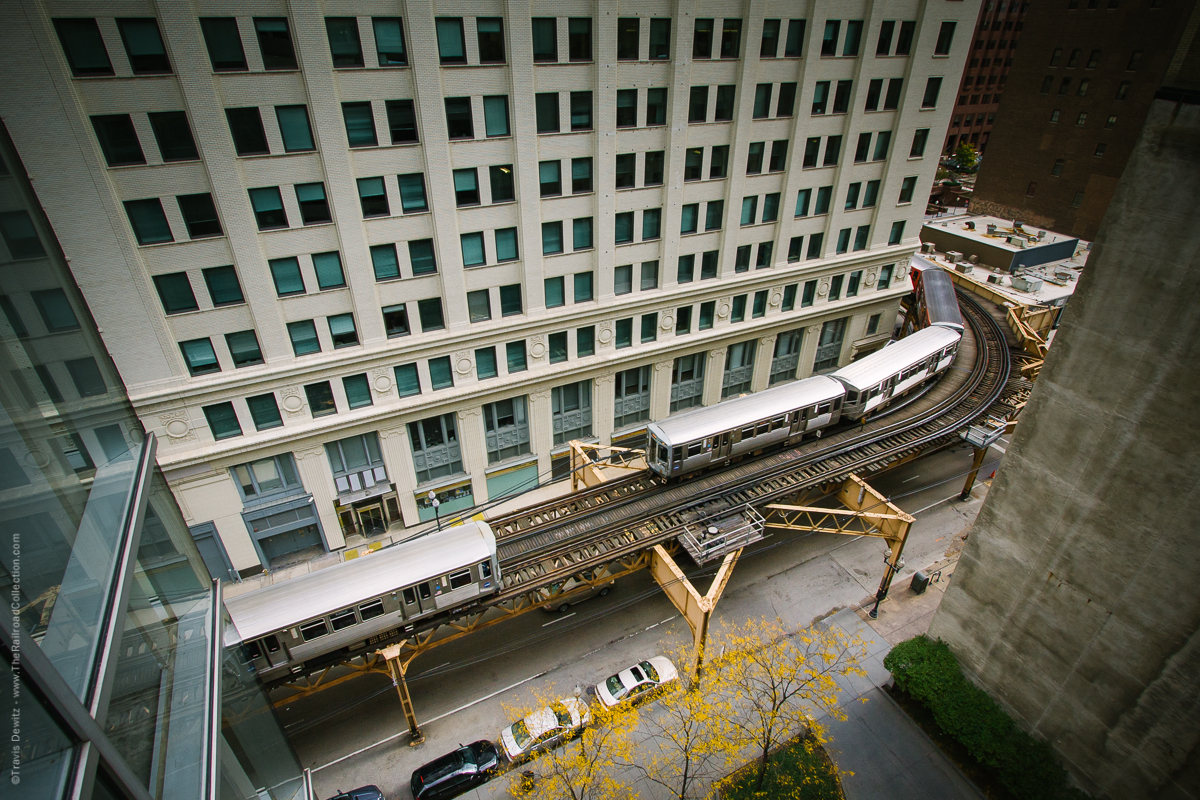
Two ‘L’ trains meet at one of the corners of the loop. Below is Wells Street.
#10 Ride the Train
The best part of photographing the ‘L’ is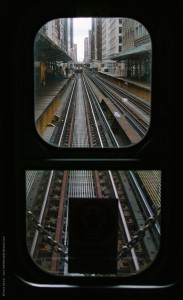 being able to hop on and experience it. Take it all in, the sites, smells, and people. This is what builds memories. If you feel comfortable enough, try to take a few images from inside the passenger car. I enjoy shooting out of the rear facing window back at the city. The steel rails create great leading lines for your image. My favorite train to take is the Red Line out of the loop. I love the feeling of it picking up speed as it descends from the elevated platform down underground. You can smell the brakes and ionized air permeating the cars. Since you’re already underground, you might as well check out the incredibly colorfully tiled subway stations. These underground stations seem to be the place where the musical entertainers play their music. The subway portion of the Red Line runs from Roosevelt (south of the loop) to North/Clybourn (north of the loop). I highly recommend just taking the trains around the loop getting off at different stations for photos before getting on another train.
About the Author
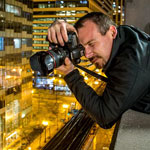
Travis Dewitz is a professional photographer located out of Eau Claire, Wisconsin. He has been published in many books and magazines including many in the railroad industry. He does a lot of photography work and environmental portraitures for many companies and heavy industries in and around Wisconsin. He has grown up with trains and railroads are one of his passions that he pursues. His railroad photography can be seen on his website The Railroad Collection.
Like and Share with your friends and family!

Nicole
What are the best L stops to take photographs at?