Top 10 Tips to Become a Better Photographer
As photographers, we all have our signature style in how we create a photo. We are artists that have our own way to paint a scene in the way we feel fit. I consider myself more of a scene shooter as I prefer to capture the place in which trains live and roam. Others maybe more documentation oriented or even focused on the smallest of details. There is no wrong or right way, just ways that we prefer over others. I am going to share with you my top 10 ways to improve your photography. Not all of these tips may apply to your style of artistry, but many are universal among all types of photography and lay the foundation for great images.
Number One
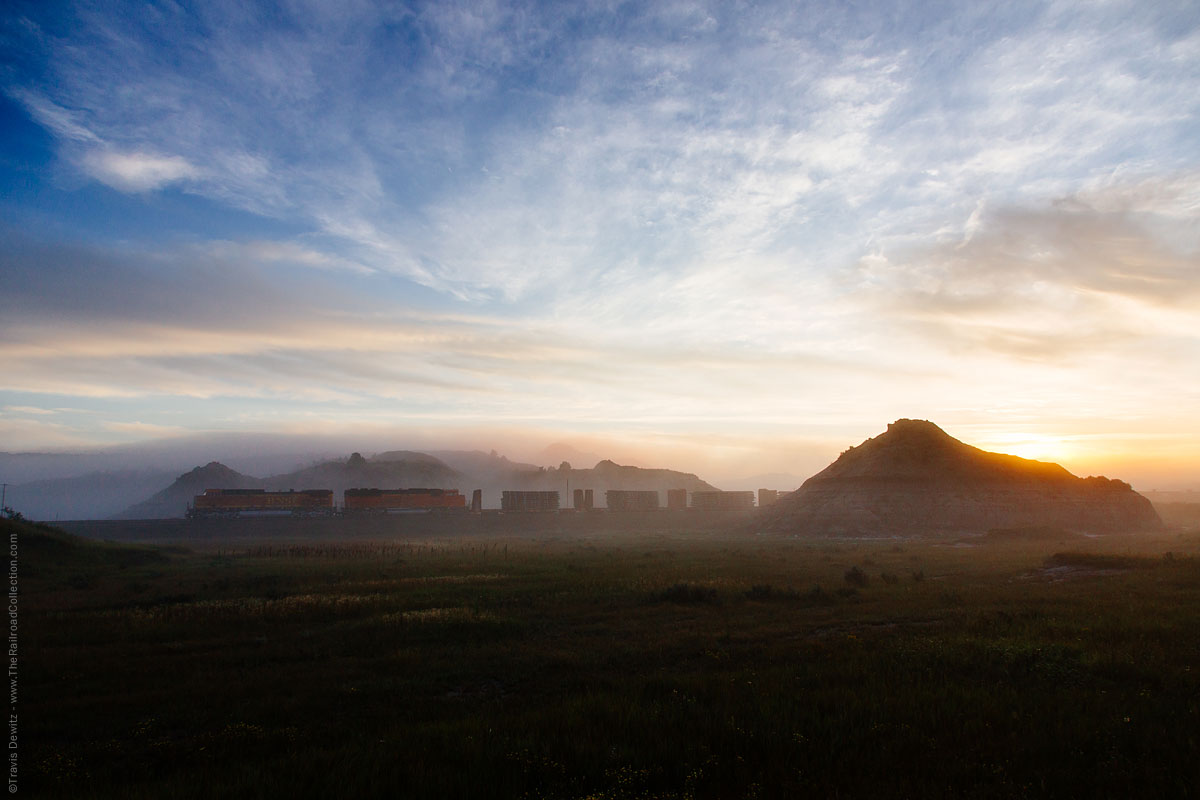
You have to immerse yourself in the right environment, and you can only be lucky if you’re there. You need to be trackside if you want to shoot trains. You must be trackside in the type of light and weather that you prefer to take pictures in. I love shooting in the first and last light of day, and it takes dedication for me to do that. I don’t enjoy getting up before the sunrise, but it’s a choice I make and sometimes I am left with disappointment as the train may not come through. That is always a risk that you need to be prepared for, but it makes the times that everything falls into place more meaningful.
Number Two
Practice; the basic element everyone knows to do, yet fail to master. You need to practice and experiment if you want to grow as a photographer. You should search out places and people that will critique your best images. Only share a couple at a time to photography forums or other photographers whose work you admire. I am speaking bluntly, you need to prepare yourself and accept critiques that you will not always agree with. This part of growing is not only imperative, but vital if you want to move forward as a photographer. Constructive criticism from the best photographers in the field will set you apart in the long run if you take their advice to improve on your craft.
Number Three
Learn basic photography techniques and rules. Rules? Yes, even art has rules that you should follow. I’m not going to list them here but there are many resources that explain these in detail online and in photography books. One example would be the rule of thirds which will help get in the right direction to find the others. I recommend following these rules for a while until you will feel confident in your skillset and even dabble in breaking them when it fits. I can’t tell you when or which rules you can break, but you will learn through time that you can.
Number Four
Work hard to control your camera, make it a priority. Learn how to maximize the camera you own and how to use all of its controls; especially to focus quickly and accurately. One tip I can give here is that many cameras’ focusing systems use contrast in your subject for it to focus. This becomes very apparent in low light as the light fades so does the contrast of subjects. By knowing this, you can look for something about the same distance away with more contrast to focus on. When not using a tripod, which I rarely use, learn how to hold and support your camera to create a stable shake free platform while shooting. Learn what speeds you need to shoot above depending on focal length, and speed of your subject. Other factors play a part in this, such as distance and direction of your subject. Some basic guidelines would to be to shoot at or above 1/500th or over the focal length you are shooting. So if you are shooting with a 600mm lens you should be at or over 1/600th. You will learn the times you can or have to shoot under 1/500th, but it is a great place to start. You will also learn that iso settings affect image quality differently between different cameras. Some cameras can only go up to iso 800 before quality degrades too much while others can go up to iso 2500 with good results.
Number Five
Most of us love looking at others railroad photography; studying photography you love is a key component to continuous growth as a photographer. Write a list of what you find yourself drawn to in others work. The hard part here is when you are out trackside to be able to break out of your normal mode and put that list to use. Force yourself to shoot in a way you may be uncomfortable with. Breaking habits is always hard, but needed for true self evaluation and growth.
Number Six
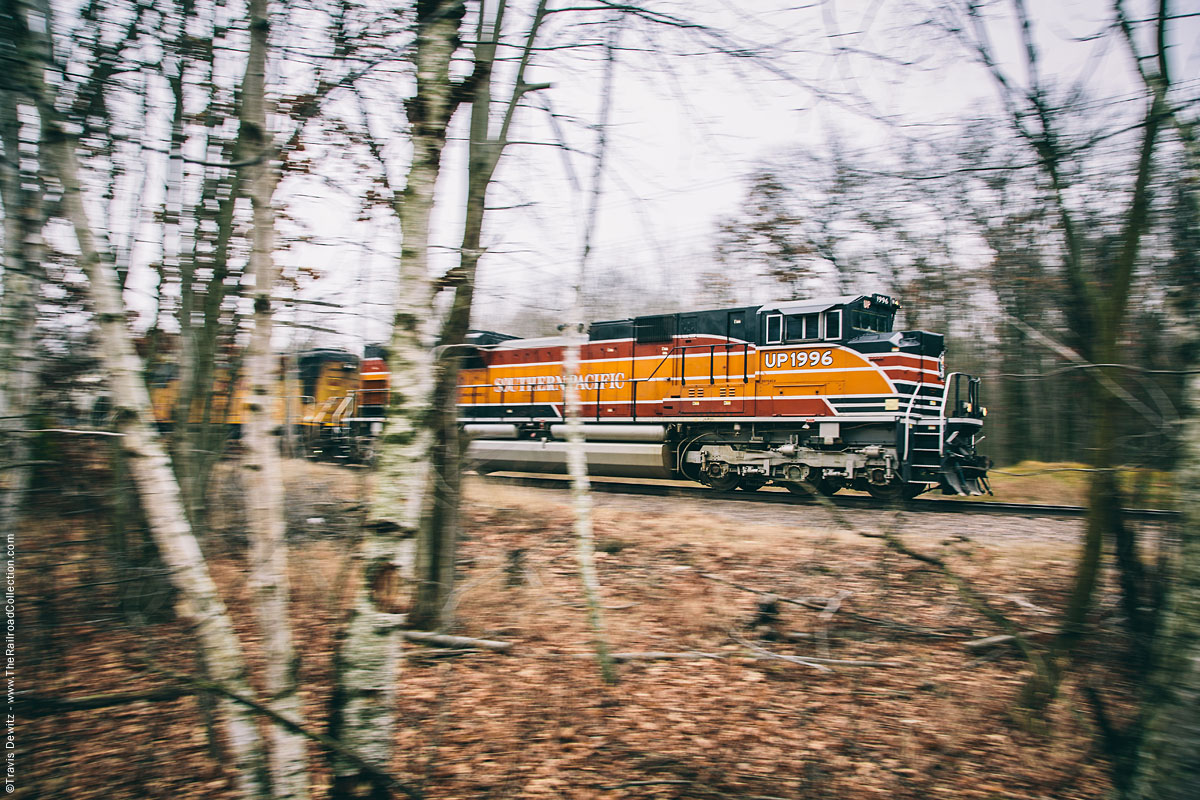
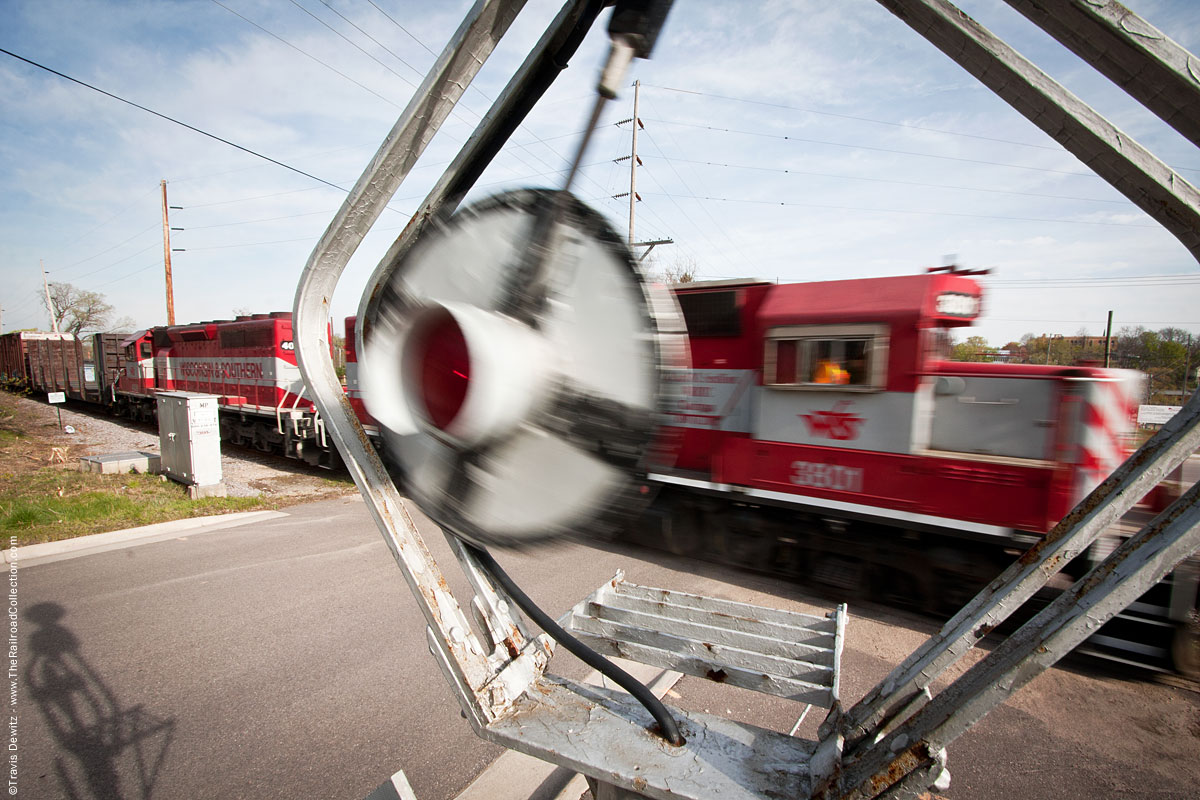
If you are using a DSLR, try experimenting with some of the settings. Use slower shutter speeds like 1/30 or slower to create blur in the train or to pan the train with to create blur in the background. This can create a sense of motion in your images which train images usually lack. Diesel locomotives just don’t show many signs of motion like steam locomotives use to with billowing steam and smoke and moving drive rods.
Number Seven
This tip is another one for the DSLR user. If you have multiple lenses, pick the lens you use least often and force yourself to only use that lens for an entire day. This will get you out of your comfort zone and encourage exploration of new angles and ways to photograph a train or the railroad. This one was initially tough for me, but I did learn so much more about the limitations of the lens I used along with its capabilities. It got my feet wet as I needed to move in closer to get the shots I wanted.
Number Eight
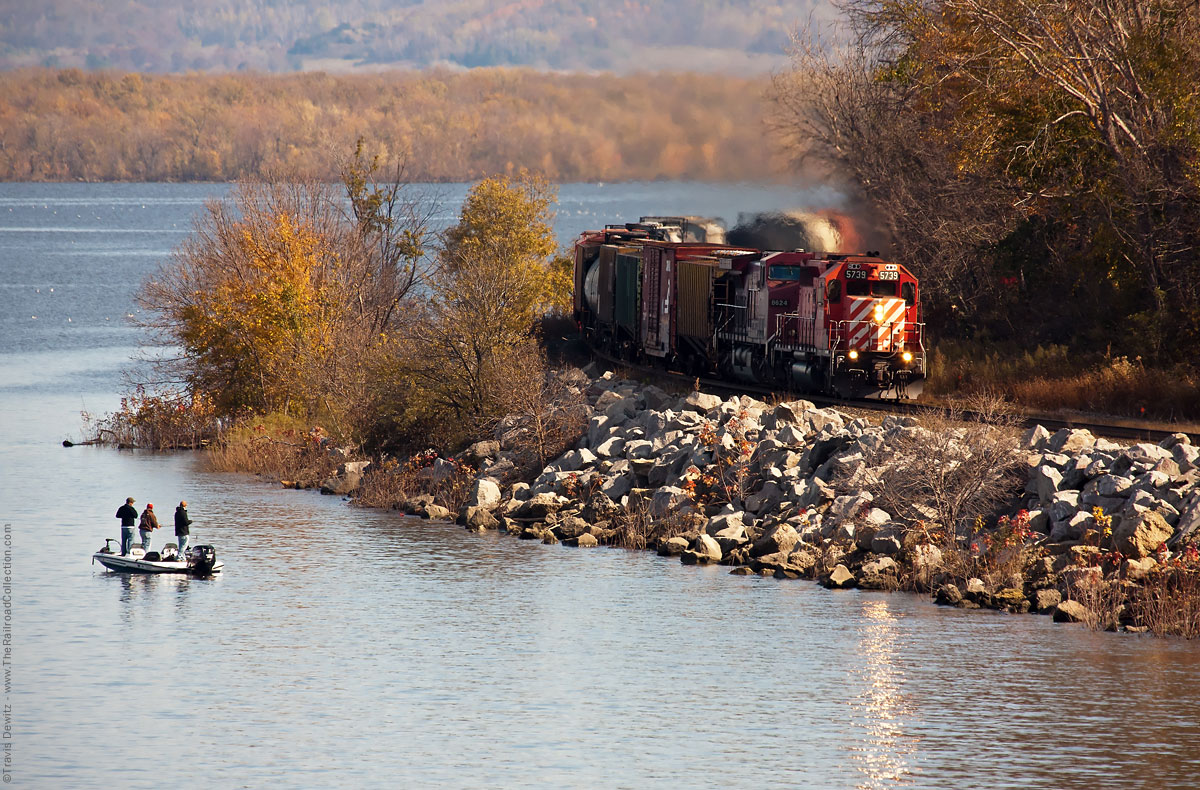
Pick a small specific area to document and showcase different angles that depict that area the best. Try to capture the different operations that are most common and focus on this area in full detail which means you need to shoot from wide to tight. You need to go wide to show the scene all the way down the small details like a date nail in a post. Strive to capture the people that work for and with the railroad and the surrounding community. Once you feel like you have enough to tell the story, put them together and share that story with stakeholders and those that have a vested interest.
Number Nine
Remember the railroad is always changing and sometimes it is changing much quicker than you may realize. Try to capture some of the infrastructure on its own or as part of a scene with a train. What is here today may not be here tomorrow. Everything you capture today you will look back decades later and be thankful that you did. I was recently looking back at my photos from just a few years ago and could not believe all the changes in just that short period of time. Years seem to go by slow today, but fast as we look back to yesterday.
Number Ten
Find a place or person to share your passion for trains with. There are many railroad sites, forums, and groups for you to connect with others with the same interest. There are also events, shows, conferences that are held throughout the year that you can be a part of. Find the place that works best for you and that shares the most interest in what you enjoy most. I personally find myself using Yahoo groups, Railpictures.net, Flickr, and going to the Center for Railroad Photography and Art Conference as my main outlets.
About the Author
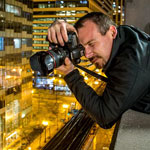
Travis Dewitz is a professional photographer located out of Eau Claire, Wisconsin. He has been published in many books and magazines including many in the railroad industry. He does a lot of photography work and environmental portraitures for many companies and heavy industries in and around Wisconsin. He has grown up with trains and railroads are one of his passions that he pursues. His railroad photography can be seen on his website The Railroad Collection.
Like and Share with your friends and family!

Robert Teed
Thanks for the Tips! There are very few places to go on the web to learn Train Photography. My company has put on a few
Railroad Photo Shoots and plan to do more. A good write up on Photographing Trains at Night would be awesome to find. Shooting
steam locomotives even during the day can prove challenging because most of them a painted dark colors and you can’t always get the
lighting conditions necessary.
Travis Dewitz
I have a guest post coming in the future about flash photography at night.