Railpictures Beginner Guide
by: Chase Gunnoe
The following guide describes Railpictures.net, their standards, and requirements when submitting images. This guide is intended for beginners who may have questions regarding certain things that are hopefully covered in the following post. I see a lot of new members posting to the forums asking the same questions over and over. This post will hopefully answer your questions and save you the trouble of asking them. I’ll break this post into a few pieces.
First, I’ll talk about Railpictures, for anyone who is unaware of the procedures, etc. Then, I’ll describe camera requirements and the quality standards of Railpictures. I’ll then move onto vaguely talking about photo editing software which in most cases, is a requirement when submitting to Railpictures. I’ll also discuss Railpictures.net rejections and ways to prevent you from getting a rejection. I’ll then provide you with insight on how to seek advice, etc. when you receive a rejection.
First off, Railpictures.net is one of the most successful railroad image websites on the internet. Their site is home to over 275,000 quality railroad images and roughly 50,000 viewers each day. The site is very informative, as each image contains information on location, railroad, locomotive model, date, and a brief description of the image. Their search feature allows you to easily find certain locomotives, locations, and so on. Both the railfan and the photographer can benefit from the site.
Also, for anyone who is new to Railpictures, you’ll quickly find there is a screening process. When submitting an image, it is added to the “queue” until one of the many RP.net screeners have time to review the image. Once the image is reviewed, it will either be accepted into the database or rejected. Later, I’ll describe a few of the most common rejection reasons.
Unlike most sites who allow you to upload an unlimited amount of photos, Railpictures.net allows 10 images per 24 hours for each non-elite member. So remember to be selective in what you upload!
I encourage you to take a look at the following links which provide some additional insight on the site and their guidelines.
http://www.railpictures.net/us/
http://www.railpictures.net/addphotos/guidelines.php
Now, let’s move onto camera requirements that reach Railpictures.net quality standards. I will use this subject loosely as it does not require a fancy DSLR camera to get images accepted here. Most of the regular contributors today, originally came to Railpictures using small, point and shoot cameras. A small camera capable of producing decent image is a requirement. A seven mega pixel (ballpark guess) point and shoot camera should be fully capable of producing RP worthy shots, providing other important factors, such as composition, sun angle, etc. are spot on. I’ll later discuss composition and sun angle. Remember to always use your highest quality setting to capture the most detail.
It seems the discussion of point and shoot vs. SLR is a never ending conflict on the Railpictures forums, and other similar photography based forums. Again, while SLR’s are more advanced and create opportunities that otherwise are not possible with a point and shoot, some do prefer the smaller, more compact cameras due to the lower price, and the fact they’re not wishing to become a “professional” photographer.
One thing you will quickly notice on Railpictures is the variety in images. Some are simple, “wedgies” that are captured at grade crossings and station platforms while some are unique and “outside of the box” images that require extensive research and in some cases, long, tiring hikes just to reach that “perfect” spot. I’ve found that Railpictures.net is split up into two types of people. The railfan and the photographer. The photographer obviously being more creative, in most cases.
The quality standards here on Railpictures seem to be improving as time progresses. Obviously, a two mega pixel camera phone is not capable of producing RP images in 2009. Quality is one of the most essential factors when submitting to Railpictures. “Quality over quantity”.
Overall, to sum it up in the most simple way I can, quality is important when submitting to RP as they do have standards, but an extremely expensive camera is not always a requirement. In recent years, point and shoot cameras have advanced considerably enabling you to do more. Of course, if your funds allow you to do so, and you’re serious with photography, an SLR is always a wise investment that you will not regret.
Let’s move onto post processing software, or in other words, photo editing software. This is bluntly, a requirement for when submitting images here. Especially for a beginner, it is nearly impossible to capture a “perfect” image without the help of some type of post processing software. You will at least need some type of software to resize your images to meet Railpictures regulations. These regulations are listed on the Add Photos page when uploading your image.
Other important factors such as rotation, cropping, color adjustments, sharpening, and contrast adjustments are also a requirement. Most free post processing softwares allow you to do the above mentioned adjustments. More advanced photo editing softwares such as Photoshop Elements can cost you $50 to $75.
Most photo editing softwares are rather easy to understand. Adjustments can be easily altered and over time, you’ll quickly become familiar with the location of each adjustment.
Now, let’s discuss the rejections. Every Railpictures.net contributor has received a rejection. Simple as that. While at times, the rejections can seen annoying and discouraging, I personally try to take them as a learning experience. If you do the same, you’ll quickly find yourself getting more images accepted. Briefly, I’ll discuss a few of the most confusing rejections. Most of them are self explanatory. Each rejection has a brief description beside it, which I’ve found to be helpful.
First, let’s talk about the PEQ rejection, a common rejection reason that at times, is very confusing to comprehend.
“Poor Esthetic Quality: This rejection reason means that the photo is of low esthetic qualities, or is simply not the type of material we are wishing to publish.”
Sometimes the screeners simply find an image unappealing. This can be due to a few things. The image may not contain enough “railroad” oriented subjects, or perhaps the image is taken from what appears to be a trespassing location. Railpicture strictly prohibits images submitted from railroad property unless proper permission is granted. Photos in between the rails are often rejected for “PEQ” unless permission is mentioned. You can include a small message in the Screener Remarks on the upload page stating you were either standing on a grade crossing, or had full permission to be on railroad property.
Another common rejection that at times can be hard to understand and correct is the “Bad Composition”.
“Composition/Balance: The composition of this photo is poor relating to the overall balance of the image.”
This is sometimes due to the image being too centered or awkwardly cropped. Again, post processing software can enable you to edit the cropping, thus hopefully, preventing you from getting hit with bad balance.
The “Foreground Clutter” rejection is another confusing rejection. At first, I found this rejection to be confusing and irrelevant, but over time, I’ve found it is a quite important factor when trackside.
Foreground clutter, or in other words, obstructing objects are very important when submitting to Railpictures. This is an essential thing that is easily avoided if simply relocating, or removing the “distracting” object such as weeds, or other objects. Anything that is obstructing the train, such as a crossing gate, a signal cabin, etc. is sure to get you hit with the Foreground Clutter rejection, unless captured in a creative manner.
The high sun reject. This is one of the most common rejection reasons in the summer months, simply due to the fact that the sun is too high in the sky, resulting in odd and rather distracting shadows on the train. This is easily prevented if you’re trackside before 10am and after 5pm.
Other simple rejections that are easily fixed in post processing software are bad color, bad contrast, undersharpened, over sharpened, too much noise/grain, over exposed, and underexposed. If familiar with editing software, these can be quickly fixed. I do recommend trying to fix them prior to submitting to the queue, as you’re limited to only 10 uploads per day, as previously stated.
Two additional critical rejection reasons are back lit and cloudy day image.
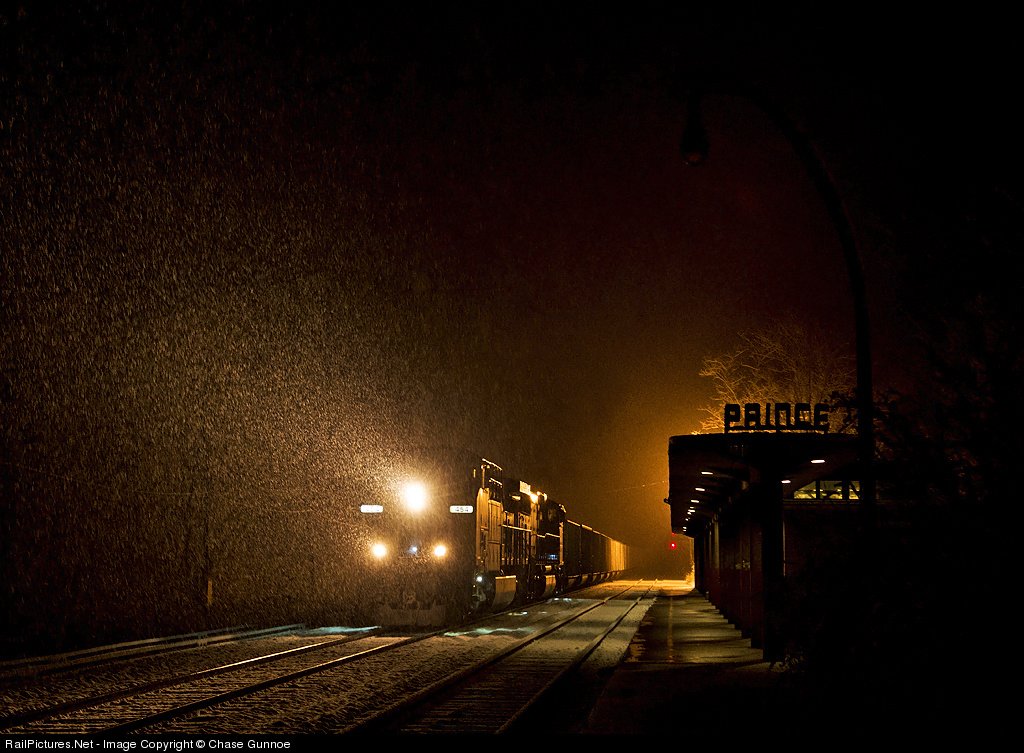
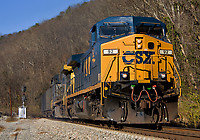
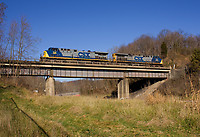
A back lit image is when the subject (a train in this case) does not contain enough visible light. You ALWAYS want to have the sun behind your back. Shooting into the sun will result in a guaranteed rejection. As many members say, you’ll like to have the sun on your shoulder. A well lit subject will make for a more attractive image. For an example of a well lit subject, take a look at some examples below.
In both of the above images, I had the sun positioned directly behind me. A good way of noticing the angle of the sun is to look at your shadow. After a while, you’ll get the hang of various sun angles.
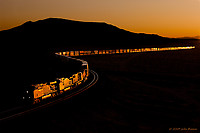
The only time a back lit image is acceptable is if it is near dawn or dusk where the sun angle is extremely low. This make for a unique and rather colorful “glint” effect. Below is an example of the “glint” effect.
The cloudy day image rejection is common as well. In most cases, Railpictures will reject cloudy day images, unless the angle is unique and creative. If the angle is common, you’ll most likely receive a rejection. This is easily avoided if you railfan on a sunny day.
I’ve posted an important quote below that I’ve personally found accurate and effective.
“Railpictures likes great photography of trains, not photography of great trains”.
I’ve found this quote to be quite valid and even in a couple personal cases, quite helpful. Railpictures.net does not care if it is a “rare” Conrail painted geep or a rare BNSF warbonnet. They simply are wishing to publish good, quality images of trains in good light.
Now that I’ve pretty much covered a large portion of the rejection reasons and a couple suggestions on how to avoid receiving rejections, let’s wrap this up by briefly explaining ways for you to seek advice. Obviously, the Railpictures.net forums are helpful! We provide you with constructive criticism on how to improve your images. If you act mature and respectful, we’ll try our best to help you out.
Also, take a look at what gets accepted. This is quite helpful in providing you with a “feel” of what the screeners are wishing to publish. On average, a hundred images are accepted daily.
Finally, I hope you found this guide helpful. I know for a fact I haven’t covered everything about photography and Railpictures, I didn’t intend too, I simply wanted to give you an idea of the guidelines, and overall, the purpose of this site.
This guide simply is based on from personal experience, and overall, a lot of hours spent reviewing the accepted images, and obviously, my own rejections.
Anyone with questions or corrections are of course, very much so welcomed to chime in.
Thanks for reading,
Chase


